Opened up my bootleg DX Sengoku Driver... Looks quite bare...

Sadly, my fruit-cutting knife is missing the pegs to lock into the Driver so have to either permanently glue it or make pegs similar to the original design... I chose the latter...

I got lots of plastic pieces with weird shapes from my old KO transformers that I dismantled, and found these to suitable to make them...
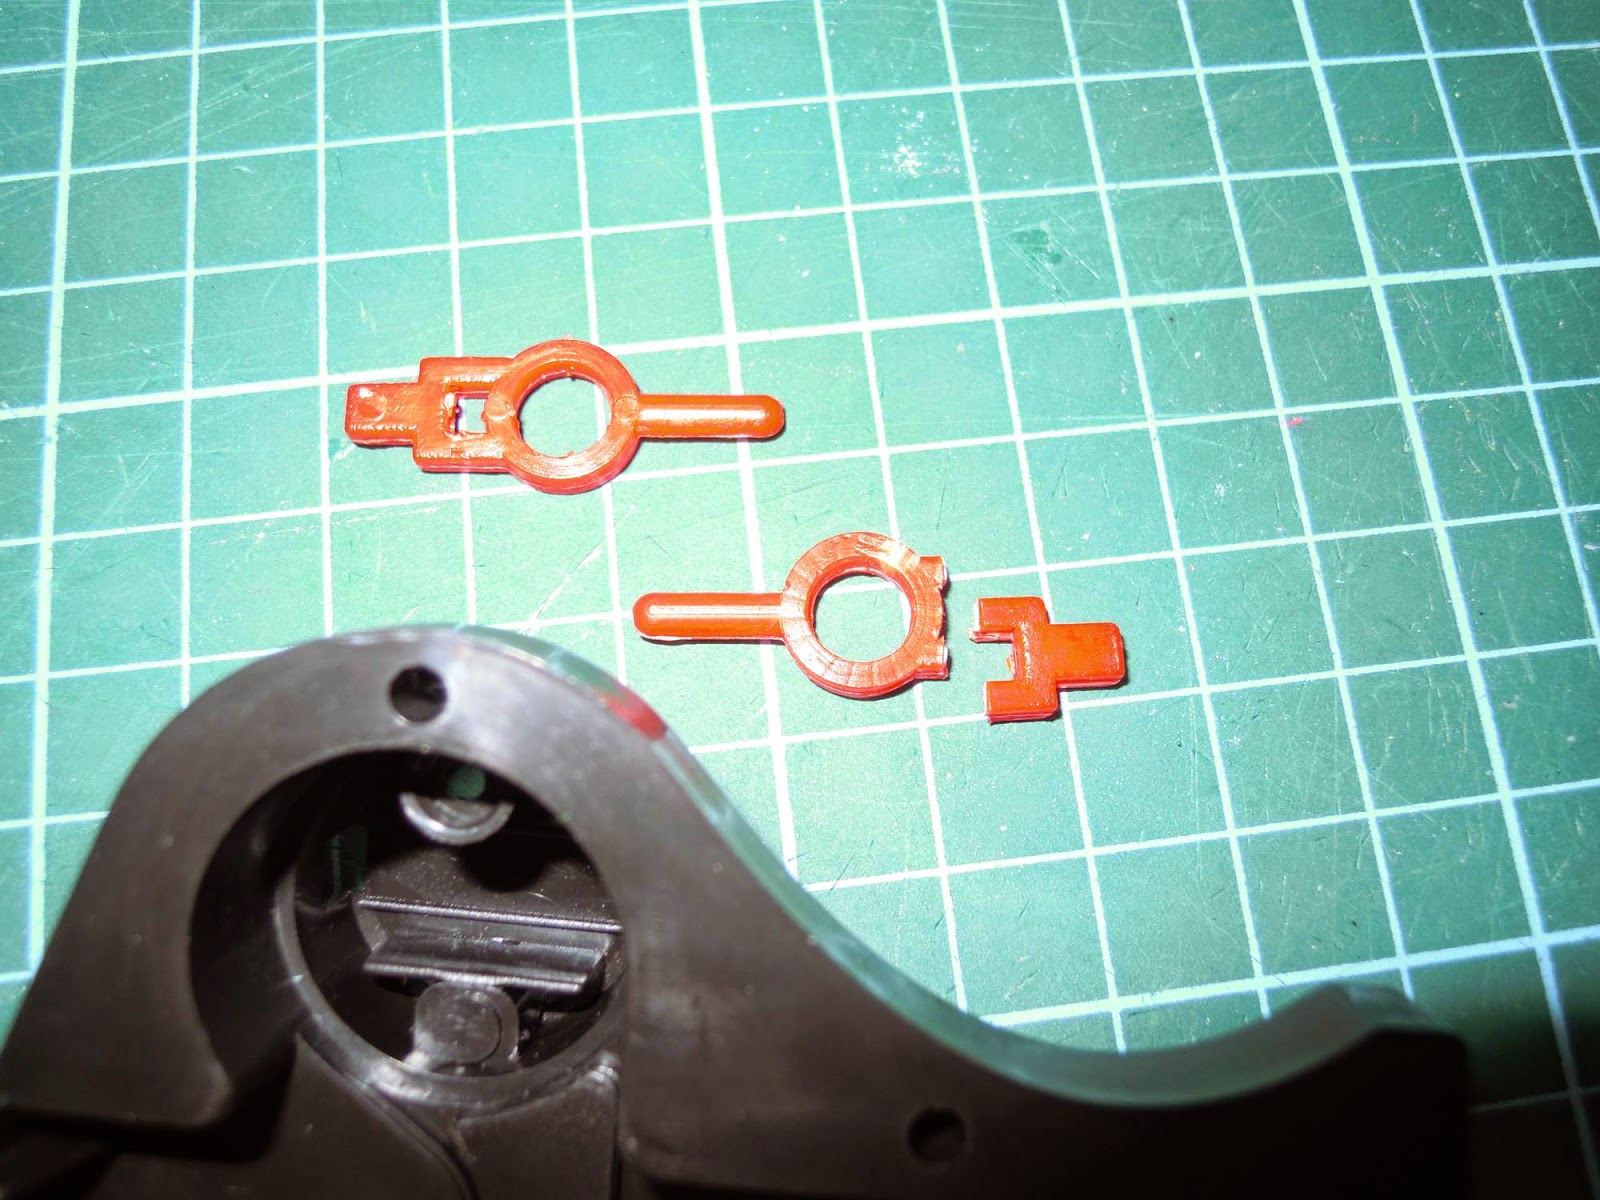

A spring is cut to size to fit in-between them. Then I make a cover (with a slot space for the larger spring) to keep the pegs in place...


Done! Comparison with the authentic one...

Moving on to the lock seed activation function. I opened 1 of the bootleg lock seeds and used the back piece to mark out the necessary hole positions... As the bootleg lock seeds have the button holes molded into the back piece, I have to cut out the molded plastics to get the holes...

The holes to mark are the 2 holes at the ends... Then the 2 holes are drilled...

I used a Tamiya pin (same as that used for the Bootleg Musou Saber) for the Arms activation pin... It is attached from the inside... This is more for the DX lock seeds where they need to have the smallest button at the end to be pressed for henshin to Arms mode...

For the main lock seed activation pin, I attached a hollow plastic pipe to act as the guide...

... and found 1 of the plastic pieces in the bootleg lock seed to be quite suitable for the activation pin... a spring is cut to size... of course after many trials... The small pin head needs a small washer to push against the spring when attaching the pin in the hollow pipe...


Next, the mechanism for the lock seed activation has to link the rotating action of the knife cutting to the pin. A very simplified crank and slider (link) concept is used here. The link is made from some snap-assembly kits' plastic sprues and a small hollow pipe is used for the joint as the plastic sprue is too thin to drill a hole through...

The link is then attached to the bottom part of the crank part where the knife is attached to. Note the picture shows the screw up too high; it is later unscrewed to move down and the tip flushed to the surface to allow the crank cover to attached down properly... You'll get what I mean when you fiddle around with your set... A piece of flat plastic is hot-glued to the bottom of the other end of the link, with the end tip to be glued further away from the link, forming a slope. This will allow the slope to press down the pin when the link is pulled... I forget to take the picture of another piece of flat plastic to be placed on the top (opposite to the 1st flat plastic piece) but it can be seen in the next picture...

This is how the linkage will be attached in the Driver. I forget to take a picture of a flat piece of plastic (2 holes drilled at the ends) to screw into the 2 hollow pipes, to act as a 'supporting wall' for the slope when pressing own the pin... 2 pipes are used to act as guides for the sliding motion. When the knife is swung, it will rotate the crank and in turn pull the link to slide along in the guides, and the slope will press down the pin...

Edit: The mechanism for activating the lock seed...

Here is how the pin looks like in normal mode: Pin is retracted...

Next mod for this bootleg DX Sengoku Driver will likely be adding a "Lock On!" sound and also the knife-cutting sound (probably the KR Gaim face-plate version)...
When knife is swung down, the pin will pop out and pushes the main activation switch of the lock seed... Nice...

And is a video clip to show how the bootleg Driver is able to work quite well after the restoration... You can search Youtube for the original un-modded bootleg DX Sengoku Driver, as well as that of the earlier version...
Edit: This 2nd version of bootleg DX Sengoku Driver can also attach the Kachidoki and Kiwami lock seeds for the Dai Shogun mode...

nice bootleg where you bought it?
ReplyDeleteTaobao.com
ReplyDeleteHow much is the bootleg dx
ReplyDelete